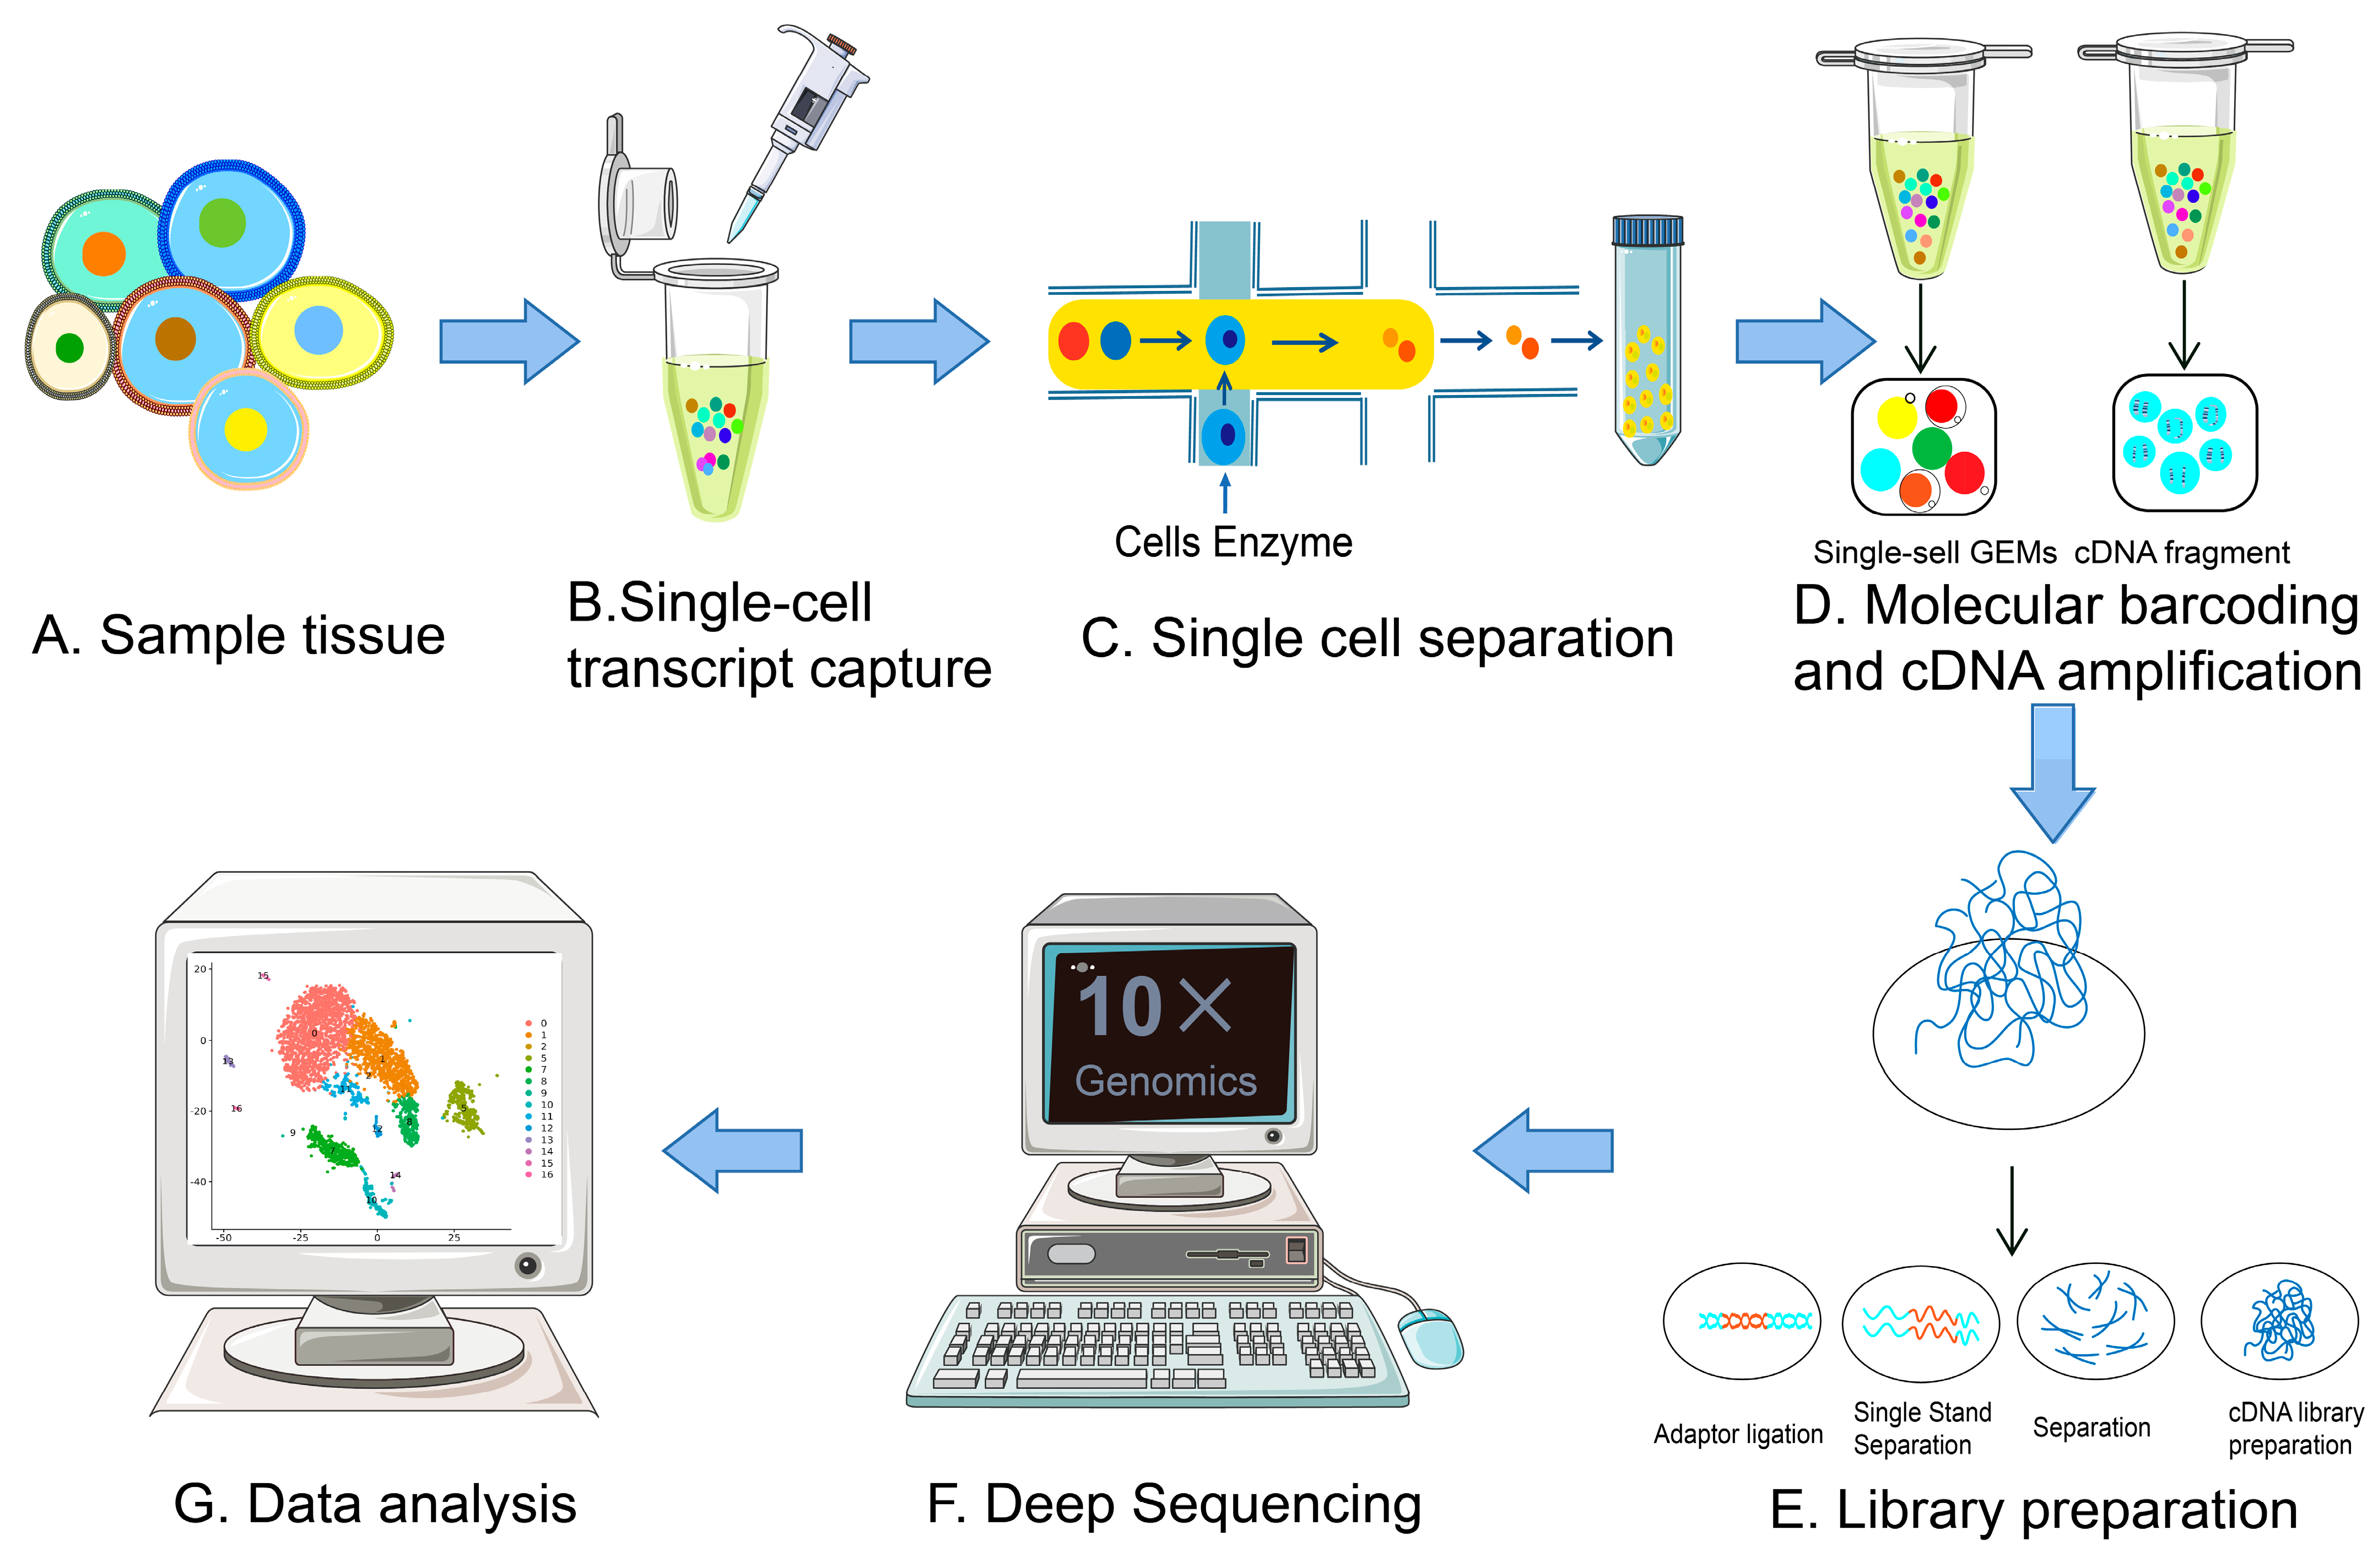
Ribo-seq的介绍 https://www.cell.com/cell-metabolism/fulltext/S1550-4131(22)00541-1?uuid=uuid%3A1357b65f-e2ff-45e2-a40c-7a90f3170be5#mmc2
核糖体分析 (Ribo-seq) 和蛋白质基因组学的最新进展已经鉴定出数千种未注释的肽和小蛋白质、微生物蛋白质 (MP),由哺乳动物基因组中的小开放阅读框 (smORF) 编码。
核糖体分析,也称为 Ribo-seq,可生成核糖体保护 RNA 片段 (RPF) 的全基因组分配和定量 ,从而提供整个转录组的翻译(翻译组)的实时快照。
RFs(Ribosome footprints):核糖体足迹
使用rna-seq的环境
测试 参考文章
https://www.sciencedirect.com/science/article/pii/S1525001621001337?via%3Dihub#mmc1
参考数据
https://www.ncbi.nlm.nih.gov/geo/query/acc.cgi?acc=GSE155899
后台批量下载 nohup prefetch -f no --option-file SRA.txt &
SRA文件转为FASTQ格式 单个转格式 慢的转换,太慢了,不建议使用
#将当前
fastq-dump --split-3 --gzip ./SRR12207279
使用这个转换,多线程转换格式,输出的为fq的文件
fasterq-dump --split-3 ./SRR12207283
批量转格式 小命令:删除当前目录SRR文件夹里的所有分文件夹,只保留其文件
find ./SRR -mindepth 1 -type d -exec sh -c 'mv {}/* ./SRR; rmdir {}' \;
fasterq-dump进行批量转换,将所有 .sra 文件都放在SRR文件夹里
sra_dir= "./SRR" output_dir= "./fastq-result" for sra_file in $ sra_dir/ * .srado filename= $ ( basename "$sra_file" .sra) fasterq- dump - - outdir "$output_dir" - - split- 3 "$sra_file" done
生成在当前路径 ./fastq-result 下的 fastq 文件
下载rRNA序列 参考 https://www.jianshu.com/p/10477f96f12e
cutadapt过滤序列 -u 4 \ 可能并不需要
mkdir cutadapt-result
# 将工作目录设置为fastq文件所在的目录
cd ./fastq-result/

# 将传入的参数赋值给变量
file1_pattern=".fastq"

# 遍历所有以第一个参数模式结尾的文件
for file1 in *${file1_pattern}; do
    # 从文件名中提取去掉模式后的部分
    base=$(basename "$file1" ${file1_pattern})

    # 直接执行trim_galore命令,不需要检查对应的file2是否存在
    (
        echo "找到名为 $base 的文件 $file1"
        #循环执行代码区
        #trim_galore -q 25 --phred33 --length 35 --stringency 3 --paired -o ../clean_data/ "$file1" "$file2"
	cutadapt -j 20 \
  -a "TGGAATTCTCGGGTGCCAAGG" \
  -u 4 \
  -m 24 \
  -M 35 \
  -q 20 \
  --match-read-wildcards \
  --max-n 0.25 \
  -o ../cutadapt-result/${base}_clear.fastq \
  ./${file1}
    ) &
done

# 等待所有后台进程完成
wait
建立rRNA索引 bowtie2-build rRNA.fasta rattrna
bowtie2比对,删除rRNA序列 mkdir bowtie-resule # 将工作目录设置为fastq文件所在的目录 cd ./cutadapt-result/ # 将传入的参数赋值给变量 file1_pattern="_clear.fastq" # 遍历所有以第一个参数模式结尾的文件 for file1 in *${file1_pattern}; do # 从文件名中提取去掉模式后的部分 base=$(basename "$file1" ${file1_pattern}) # 直接执行trim_galore命令,不需要检查对应的file2是否存在 ( echo "找到名为 $base 的文件 $file1" #循环执行代码区 #trim_galore -q 25 --phred33 --length 35 --stringency 3 --paired -o ../clean_data/ "$file1" "$file2" bowtie2 -x /public/home/dk_szy/songxudong/riboseq/rRNA/rattrna --un-gz ../bowtie-resule/${base}.fastq.gz -U ./${file1} -p 20 -S ../bowtie-resule/${base}.sam ) & done # 等待所有后台进程完成 wait
STAR比对到测序物种基因组 按照网上教程所说,STAR的运行速度是最快的,只是对性能和内存的要求比较高
参考: https://www.jianshu.com/p/5b6dfc954315
安装 conda install bioconda::star
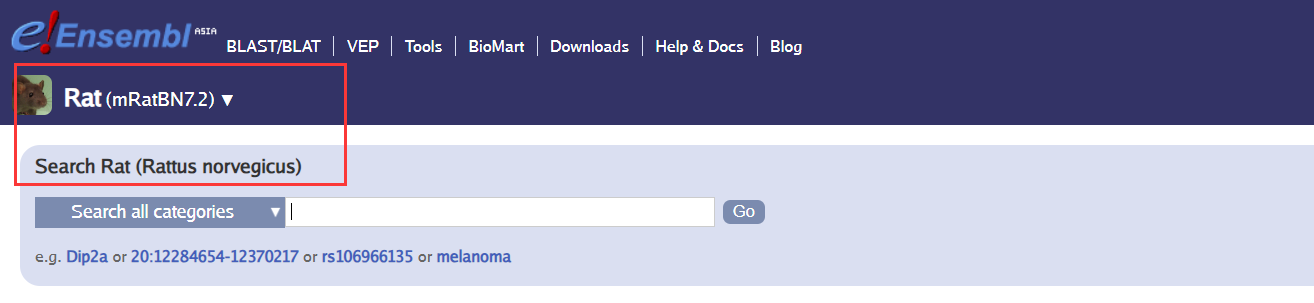
下载参考基因组 参考物种为大鼠: Rattus norvegicus
在ensebml中下载: https://asia.ensembl.org/Rattus_norvegicus/Info/Index
下载 Rattus_norvegicus.mRatBN7.2.dna.toplevel.fa.gz
Rattus_norvegicus.mRatBN7.2.112.gtf.gz
#后台下载
nohup wget -c https://ftp.ensembl.org/pub/release-112/fasta/rattus_norvegicus/dna/Rattus_norvegicus.mRatBN7.2.dna.toplevel.fa.gz &
nohup wget -c https://ftp.ensembl.org/pub/release-112/gtf/rattus_norvegicus/Rattus_norvegicus.mRatBN7.2.112.gtf.gz &
构建索引 将参考基因组和注释解压缩
先统计读取序列的最大长度,决定STAR 的 –sjdbOverhang 参数
https://blog.csdn.net/qazplm12_3/article/details/119687084
conda install -c bioconda seqkit
可见我们的翻译组最大读长为 31,我们设置 –sjdbOverhang 30
https://www.jianshu.com/p/9bdad4a4f98f
gzip -c -d Rattus_norvegicus.mRatBN7.2.112.gtf.gz
gzip -c -d Rattus_norvegicus.mRatBN7.2.dna.toplevel.fa.gz
cd reference

STAR \
    --runMode genomeGenerate \
    --runThreadN 20 \
    --genomeDir ./ \
    --genomeFastaFiles ./Rattus_norvegicus.mRatBN7.2.dna.toplevel.fa \
    --sjdbGTFfile ./Rattus_norvegicus.mRatBN7.2.112.gtf \
    --sjdbOverhang 30
花费20分钟,较其他的软件确实快点
结果,包括序列和注释18个文件
序列比对 参数参考文章
单个
STAR --outSAMtype BAM SortedByCoordinate \
--runThreadN 20 \
--genomeDir ./reference \
--outFilterMismatchNmax 2 \
--outFilterMultimapNmax 5 \
--outFilterMatchNmin 16 \
--alignEndsType EndToEnd \
--readFilesIn  ./bowtie-resule/SRR12414240.fastq \
--outFileNamePrefix ./star-result/star_output_
批量
# 将工作目录设置为fastq文件所在的目录
cd ./bowtie-resule/

# 将传入的参数赋值给变量
file1_pattern=".fastq"

# 遍历所有以第一个参数模式结尾的文件
for file1 in *${file1_pattern}; do
    # 从文件名中提取去掉模式后的部分
    base=$(basename "$file1" ${file1_pattern})

    # 直接执行trim_galore命令,不需要检查对应的file2是否存在
    (
        echo "找到名为 $base 的文件 $file1"
        #循环执行代码区
        #trim_galore -q 25 --phred33 --length 35 --stringency 3 --paired -o ../clean_data/ "$file1" "$file2"
        STAR --outSAMtype BAM SortedByCoordinate \
--runThreadN 20 \
--genomeDir ../reference \
--outFilterMismatchNmax 2 \
--outFilterMultimapNmax 5 \
--outFilterMatchNmin 16 \
--alignEndsType EndToEnd \
--quantMode TranscriptomeSAM \
--readFilesIn  ./${file1} \
--outFileNamePrefix ../star-result/${base}
    ) &
done

# 等待所有后台进程完成
wait
得到的 SRR12414240Aligned.toTranscriptome.out.bam
是我们需要的转录本 ribocode 的输入文件
生成表达矩阵 gtf='/public/home/dk_szy/songxudong/rna-test/reference/gft/mm10.refGene.gtf.gz' mkdir -p ./counts cd ./counts pwd featureCounts -T 20 -p -a $gtf -o counts.txt ../align/*.bam multiqc ./ echo -e " \n \n \n ALL WORK DONE !!!!!!!!!!!!!!!!!!!!!!!!!!!!!!!!! \n "
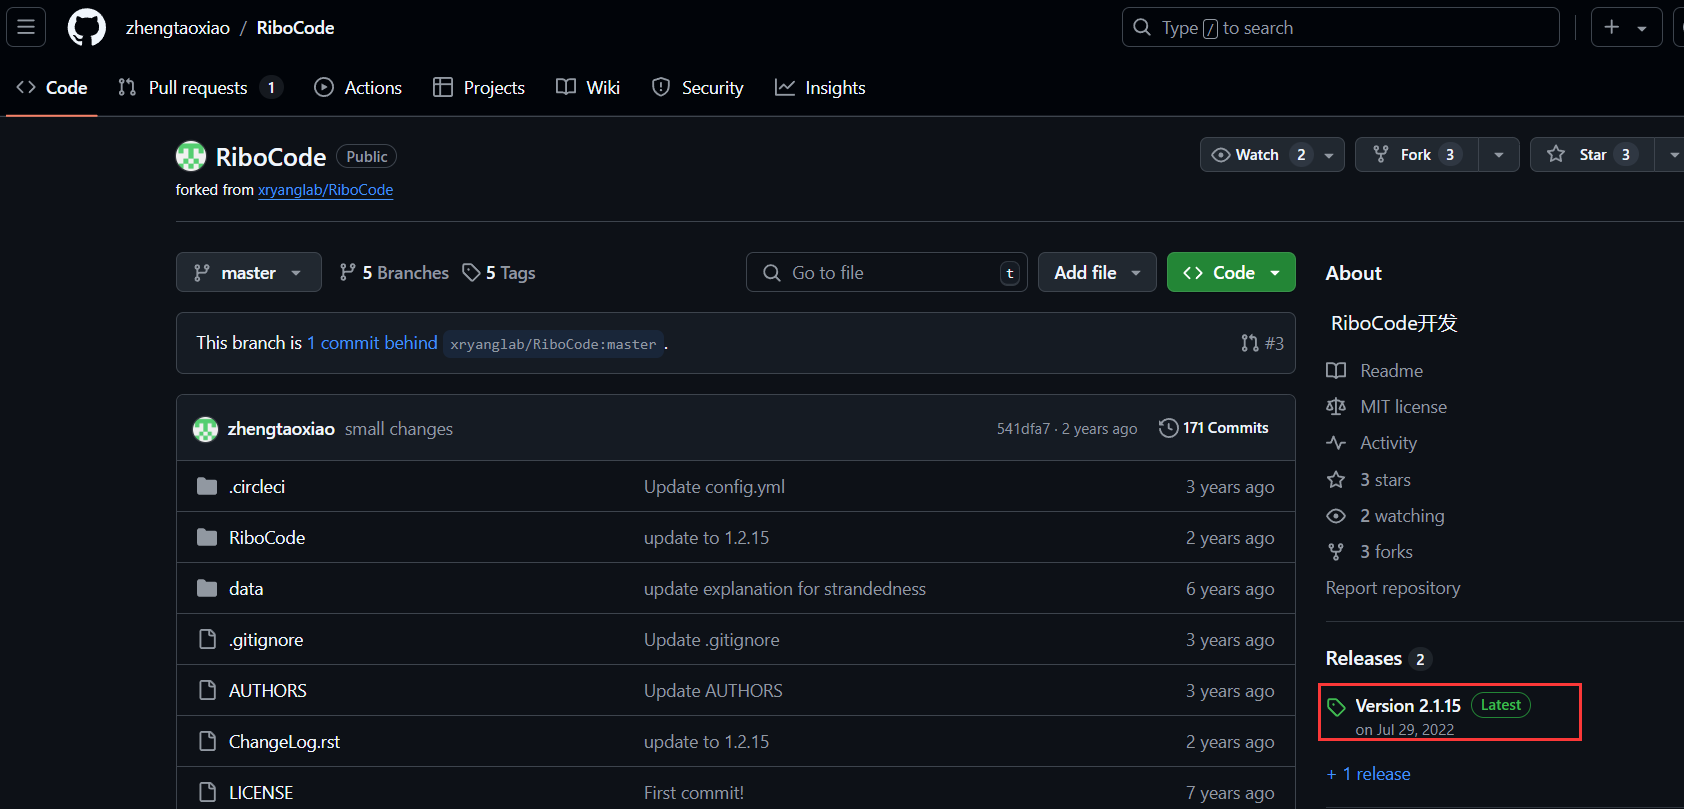
Ribocode分析 参考官方流程: https://github.com/zhengtaoxiao/RiboCode
清华大学教程:https://book.ncrnalab.org/teaching/part-iii.-ngs-data-analyses/7.rna-regulation-ii/ribo_seq
conda安装 #不使用,conda安装使用软件时依旧有报错,参考下面通过源码安装
软件对python的版本有要求,单独创建环境
conda create -n ribocode python=2.7
打开环境
安装Ribocode
conda install -c bioconda ribocode
补充修改 注意:该软件使用不成功主要为兼容性问题,我采取了conda指定 python=2.7,并且安装 numpy=1.16.5 的方式
conda update h5py
conda install numpy=1.16.5
#源码安装(可选) 目前还是报错,参考其他教程说可能是脚本的python版本太早,具体问题不清楚
下载 RiboCode-1.2.13.tar.gz
pip install --user RiboCode-*.tar.gz
添加环境变量
export PATH=$PATH:$HOME/.local/bin/
export PYTHONPATH=$HOME/.local/lib/python2.7

source ~/.bashrc
准备注释文件 进入环境
prepare_transcripts -g ./reference/Rattus_norvegicus.mRatBN7.2.112.gtf -f ./reference/Rattus_norvegicus.mRatBN7.2.dna.toplevel.fa -o ./ribocode-seference
选择RPF读数的长度范围并识别P位点位置 (与P点结合的位置位于整个RFs第13-15个碱基的位置——基迪奥生物)
在这一步花费了过多时间,
主要原因是 python的版本和上一步中STAR的输出文件,需要为转录组的文件–quantMode TranscriptomeSAM \ 为重要参数
(ribocode) [dk_szy@login1 riboseq]$ python --version
Python 2.7.18 :: Anaconda, Inc.
单个
metaplots -a ./ribocode-seference/ -r ./star-result/SRR12414240Aligned.toTranscriptome.out.bam \
-o ./test/ \
-m 26 -M 50 -s yes -pv1 1 -pv2 1
批量
需要提供 “-i”参数指定一个包含这些bam文件名称的文本文件(每行一个文件)
cd ./star-result/
metaplots -a ./ribocode-seference/ -i ./test.txt \
-o ./test/ \
-m 26 -M 50 -s yes -pv1 1 -pv2 1
_pre_config.txt可用来做
使用核糖体分析数据检测翻译的ORF: 需要准备config.txt文件,内容从上一部的_pre_config.txt中得到,尽量不要修改,直接复制每个的结果即可,不然可能因为缩进等未知原因报错
放在序列文件中
例如:
# List the ribosome profiling bam/sam files below and specify the lengths and P-site locations of alignment reads which
# are most likely originated from the translating ribosomes. If multiple files are defined, their P-site densities along
# each nucleotide would be added together.


# Explanation of each column:
# 1. SampleName: specify a name for each sample
# 2. AlignmentFile: ribosome profiling alignment file (bam or sam format) at the transcript-level
# 3. Stranded: Strandedness. Specify 'yes' for stranded interpretation, 'reverse' for reversed strand interpretation, or
#              "no" for non strand-specific libraries.
# 4,5. P-siteReadLength, and P-siteOffsets: the read lengths and P-sites locations.
#      Both of them can be estimated by perform the metagene analysis using our package.
#      List all lengths or P-site locations which separated by ",".

# SampleName	AlignmentFile	Stranded(yes/reverse)	P-siteReadLength	P-siteLocations
SRR12414240Aligned.toTranscriptome.out	SRR12414240Aligned.toTranscriptome.out.bam	yes	28,29,30,31,32,33,34,35	12,12,12,12,12,12,12,12
SRR12414241Aligned.toTranscriptome.out	SRR12414241Aligned.toTranscriptome.out.bam	yes	28,29,30,31,32,35	12,12,12,12,12,15
SRR12414242Aligned.toTranscriptome.out	SRR12414242Aligned.toTranscriptome.out.bam	yes	28,29,30,31	12,12,12,12
SRR12414243Aligned.toTranscriptome.out	SRR12414243Aligned.toTranscriptome.out.bam	yes	28,29,30,31,33,34	12,12,12,12,12,12
命令
RiboCode -a ../ribocode-seference/ -c ./config.txt -l no -g -o ../test/
测序长度计数 使用 seqkit 对我们使用 bowtie2 筛选后的结果进行统计
seqkit fx2tab -j 20 -l -n -i -H ./bowtie-resule/*.fastq | cut -f 2 | sort | uniq -c > sum.txt
得到 sum.txt 文件,包含序列长度统计信息
计算翻译效率 未尝试
参考: https://book.ncrnalab.org/teaching/part-iii.-ngs-data-analyses/7.rna-regulation-ii/ribo_seq
library( xtail) ribo <- read.table( 'Ribo_count.txt' , header= T , quote = '' , check.names= F , sep= '\t' , row.names= 1 ) mrna <- read.table( 'RNA_count.txt' , header= T , quote = '' , check.names= F , sep= '\t' , row.names= 1 ) ribo <- ribo[ , c ( "wtnouvb1" , "wtnouvb2" , "wtnouvb3" , "wtuvb1" , "wtuvb2" , "wtuvb3" ) ] mrna <- mrna[ c ( "CD1_1" , "CD1_2" , "CD1_3" , "CD0_1" , "CD0_2" , "CD0_3" ) ] condition <- c ( "control" , "control" , "control" , "treat" , "treat" , "treat" ) results <- xtail( mrna, ribo, condition, minMeanCount= 1 , bins= 10000 ) results_tab <- resultsTable( results, sort.by= "pvalue.adjust" , log2FCs= TRUE , log2Rs= TRUE ) write.table( results_tab, "TE.xls" , quote = F , sep= "\t" )
ChatGPT根据参考文章提供的内容 # 使用Cutadapt进行质量控制 cutadapt -j 4 \ -a "TGGAATTCTCGGGTGCCAAGG" \ -u 4 \ -m 24 \ -M 35 \ -q 20 \ --match-read-wildcards \ --max-n 0.25 \ -o trimmed_reads.fastq \ input_reads.fastq # 使用bowtie去除rRNA序列 bowtie -p 4 \ -v 2 \ -m 1 \ --un non_rRNA_reads.fastq \ path_to_index/rRNA_index \ trimmed_reads.fastq # 使用STAR将剩余的reads映射到大鼠基因组 STAR --runThreadN 4 \ --genomeDir path_to_STAR_index \ --readFilesIn non_rRNA_reads.fastq \ --outFileNamePrefix star_output_ \ --outFilterMismatchNmax 2 \ --outFilterMultimapNmax 5 \ --outFilterMatchNmin 16 \ --alignEndsType EndToEnd # 使用RiboCode进行ORF的识别和定量 RiboCode.py -c config_file.txt \ -l no \ -m 10 \ -g \ -b \ -A "CTG,GTG,TTG" \ path_to_STAR_output/Aligned.out.sam # 使用Ribodiff分析ORFs的TE Ribodiff.py -i RiboCode_output_ORFs.txt \ -o Ribodiff_output.txt # 分析RNAs-seq和Ribo-seq重复样本之间的相关性 # 这一步通常需要自定义脚本或使用统计软件,这里只是一个示例命令 Rscript analyze_correlation.R Ribo-seq_data.txt RNA-seq_data.txt
绘图 序列长度统计
seqkit fx2tab -j 30 -l -n -i -H file.fastq.gz > Length.txt
编码的保守性 https://www.ncbi.nlm.nih.gov/pmc/articles/PMC9889109/
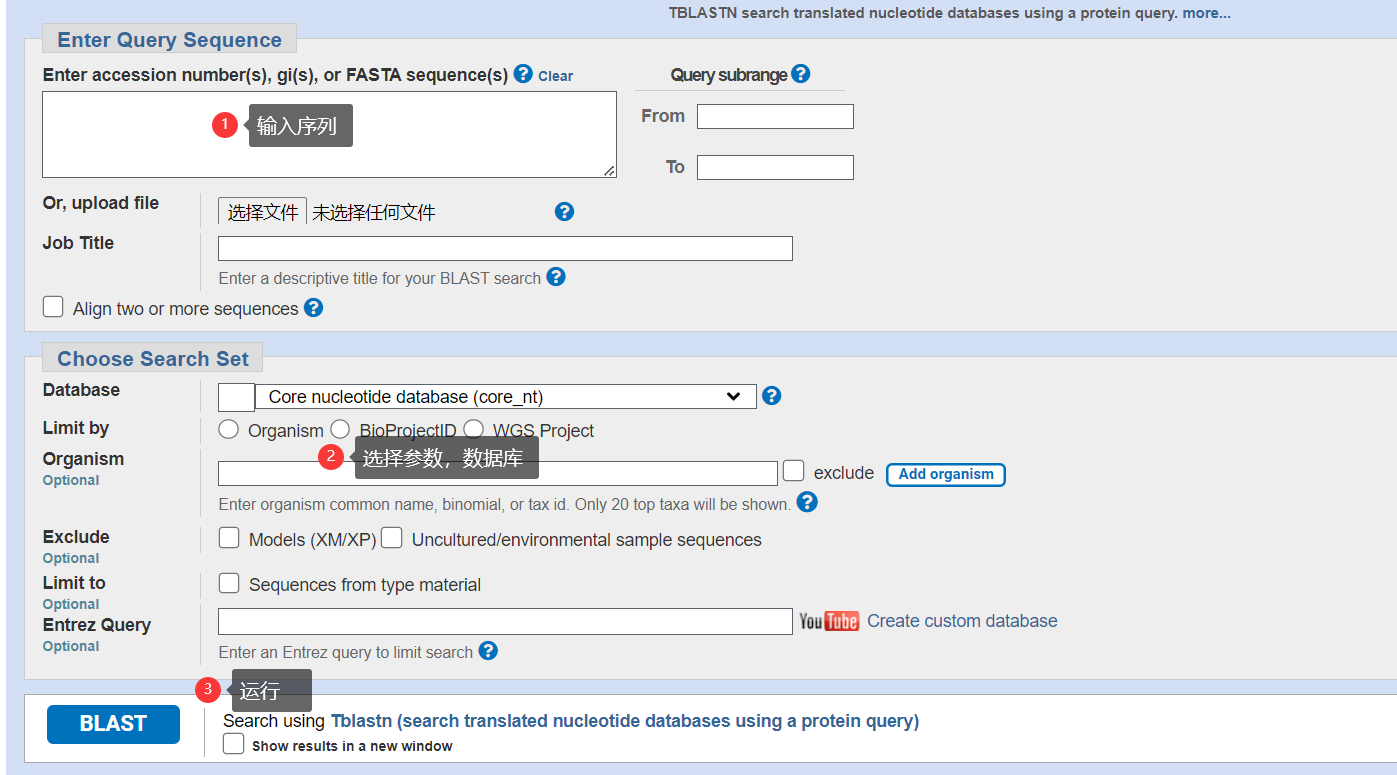
使用tblastn 进行分析
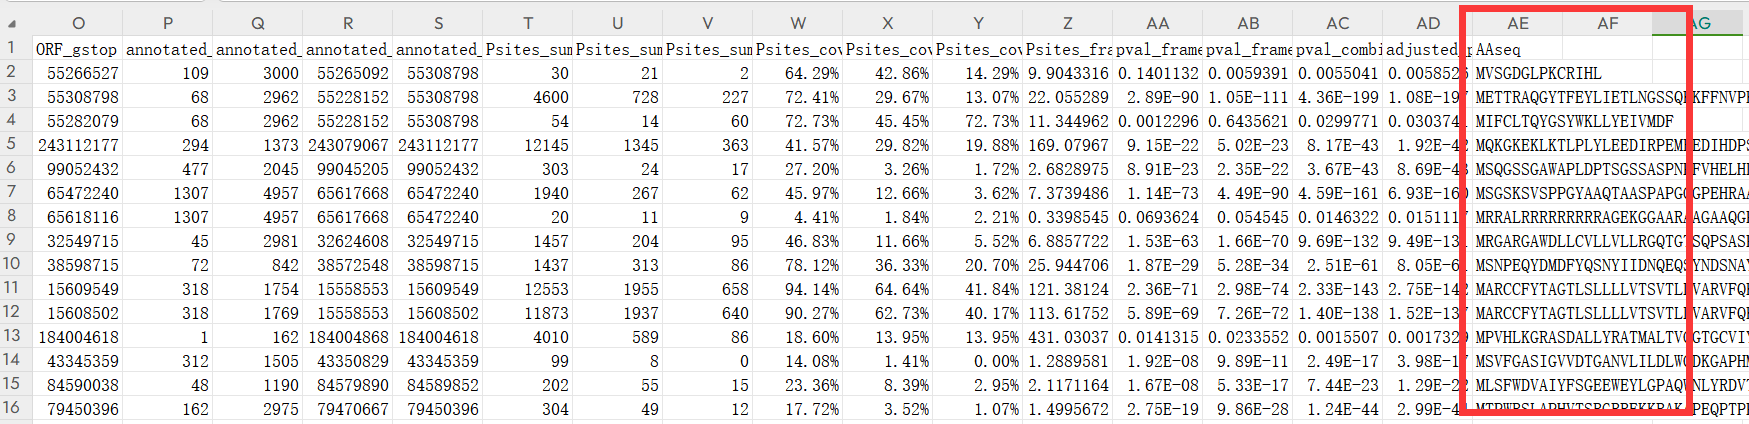
复制编码smORF的蛋白序列
之前 _collapsed.txt 的文件
进入网站
https://blast.ncbi.nlm.nih.gov/Blast.cgi